Draxon VR Training Syllabus
Pre-departure Walkaround Check (Guided)
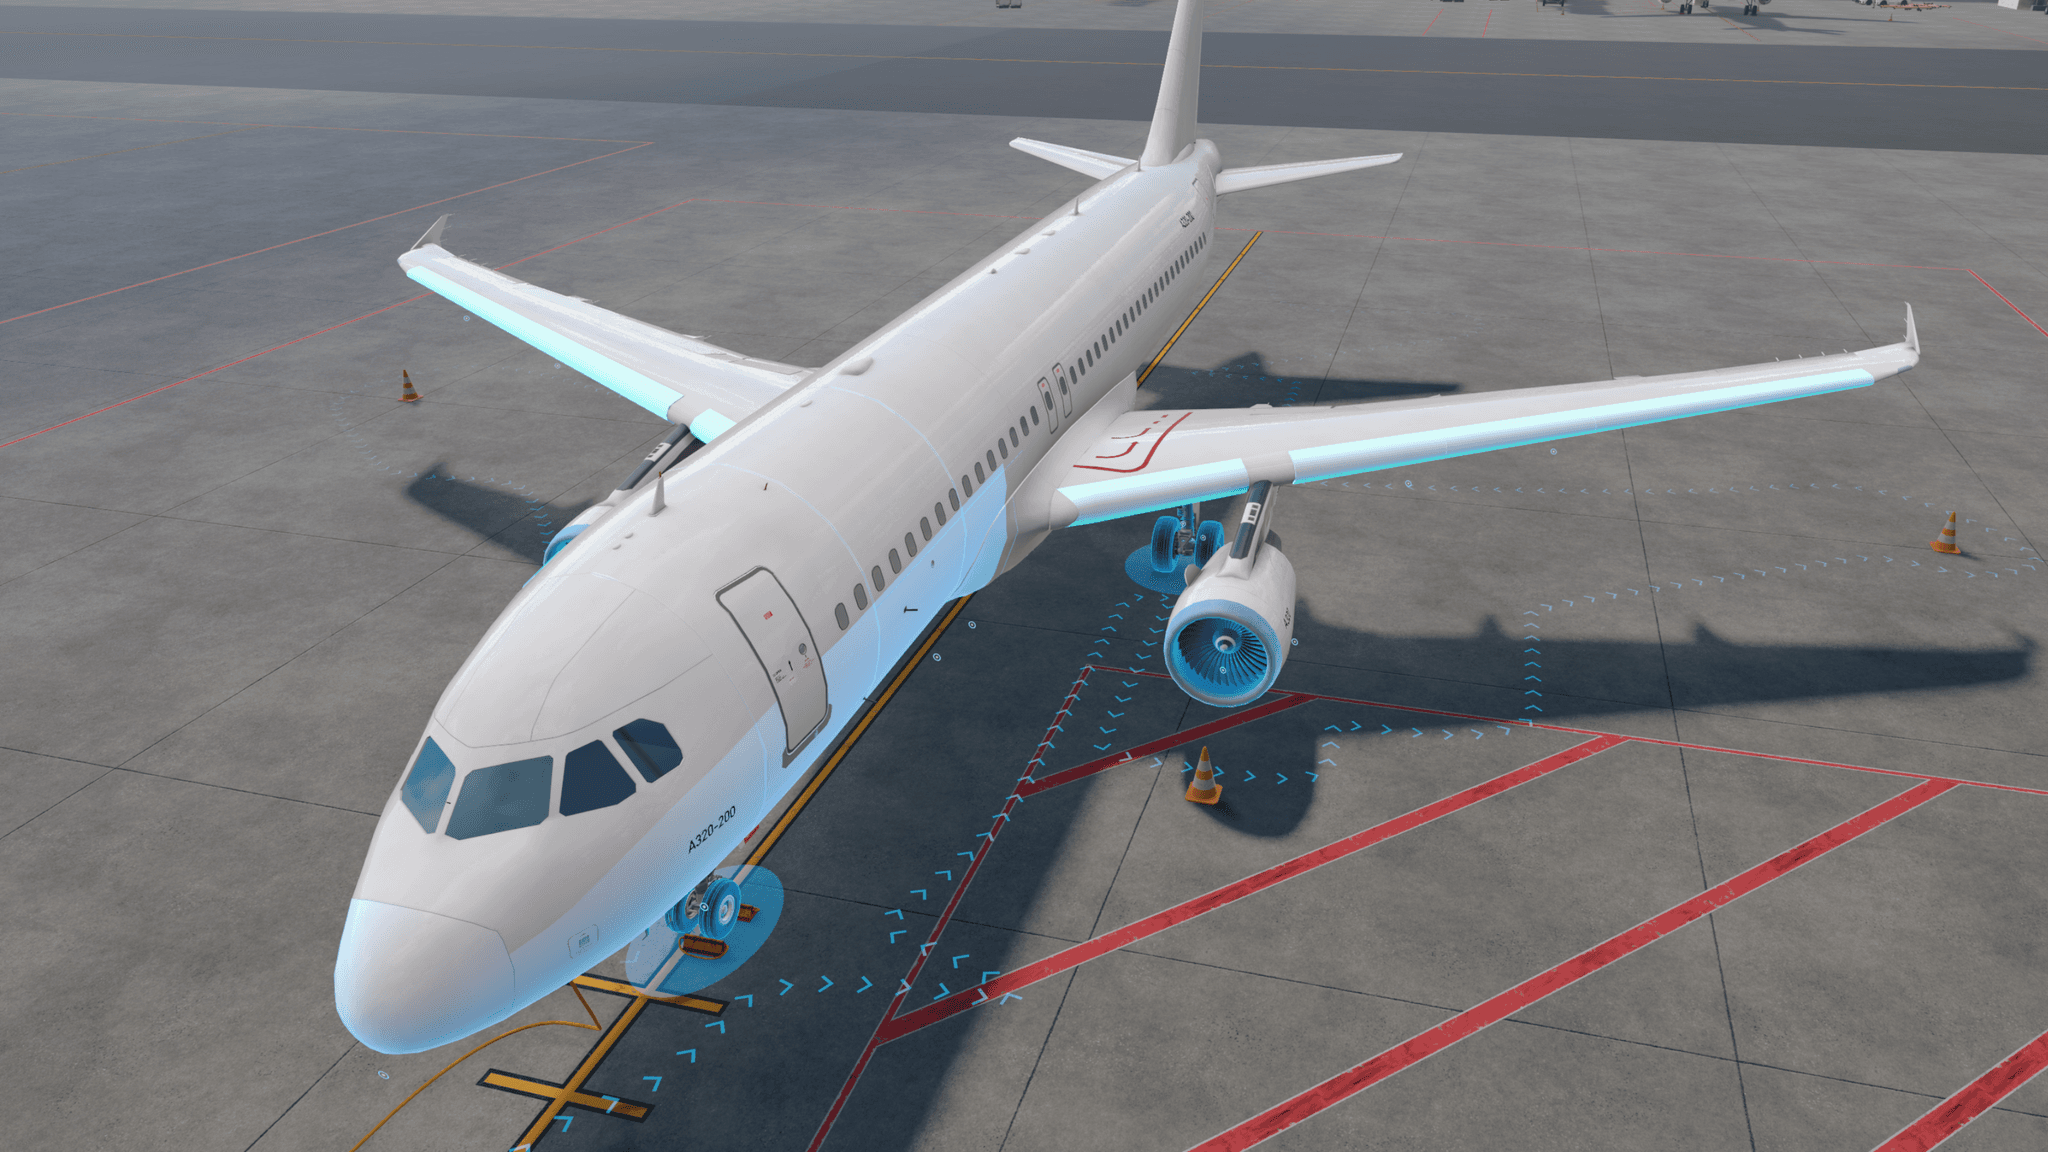
 Virtual Reality
Description
This lesson teaches the pre-departure walkaround check on the Airbus A320: the route to walk, and what to look for at each point along it. The inspection covers the full counter-clockwise circuit of an aircraft in departure-ready condition, with boarding complete, cargo loaded and all ground equipment except the GPU removed. Trainees learn to distinguish reportable damage from normal wear and already-logged old damage, and to recognize doors and panels left open, safety equipment still installed, and F.O.D. left behind during the turnaround.
Description
This lesson teaches the pre-departure walkaround check on the Airbus A320: the route to walk, and what to look for at each point along it. The inspection covers the full counter-clockwise circuit of an aircraft in departure-ready condition, with boarding complete, cargo loaded and all ground equipment except the GPU removed. Trainees learn to distinguish reportable damage from normal wear and already-logged old damage, and to recognize doors and panels left open, safety equipment still installed, and F.O.D. left behind during the turnaround.
Lesson Overview
- 1Introduction to the counter-clockwise route, the distance to hold from the aircraft, and how each point is confirmed as checked
- 2Nose, nose landing gear and left forward fuselage
- 3Left main gear, engine and wing
- 4Tail, rear fuselage and the cargo and service doors
- 5Right wing, engine and main gear
- 6Right forward fuselage and the parking-brake light test
Skills Acquired
- Walk the pre-departure route on an A320 in the correct order and at the distance needed to see subtle damage
- Distinguish reportable damage from normal wear, paint scratches and already-logged old damage
- Recognize doors, access panels and service panels left open or unsecured
- Identify safety equipment still installed and F.O.D. left near the landing gear and engine intakes
- Understand the safety significance of the pre-departure check as the last inspection before the aircraft is cleared to move
Lesson Procedure
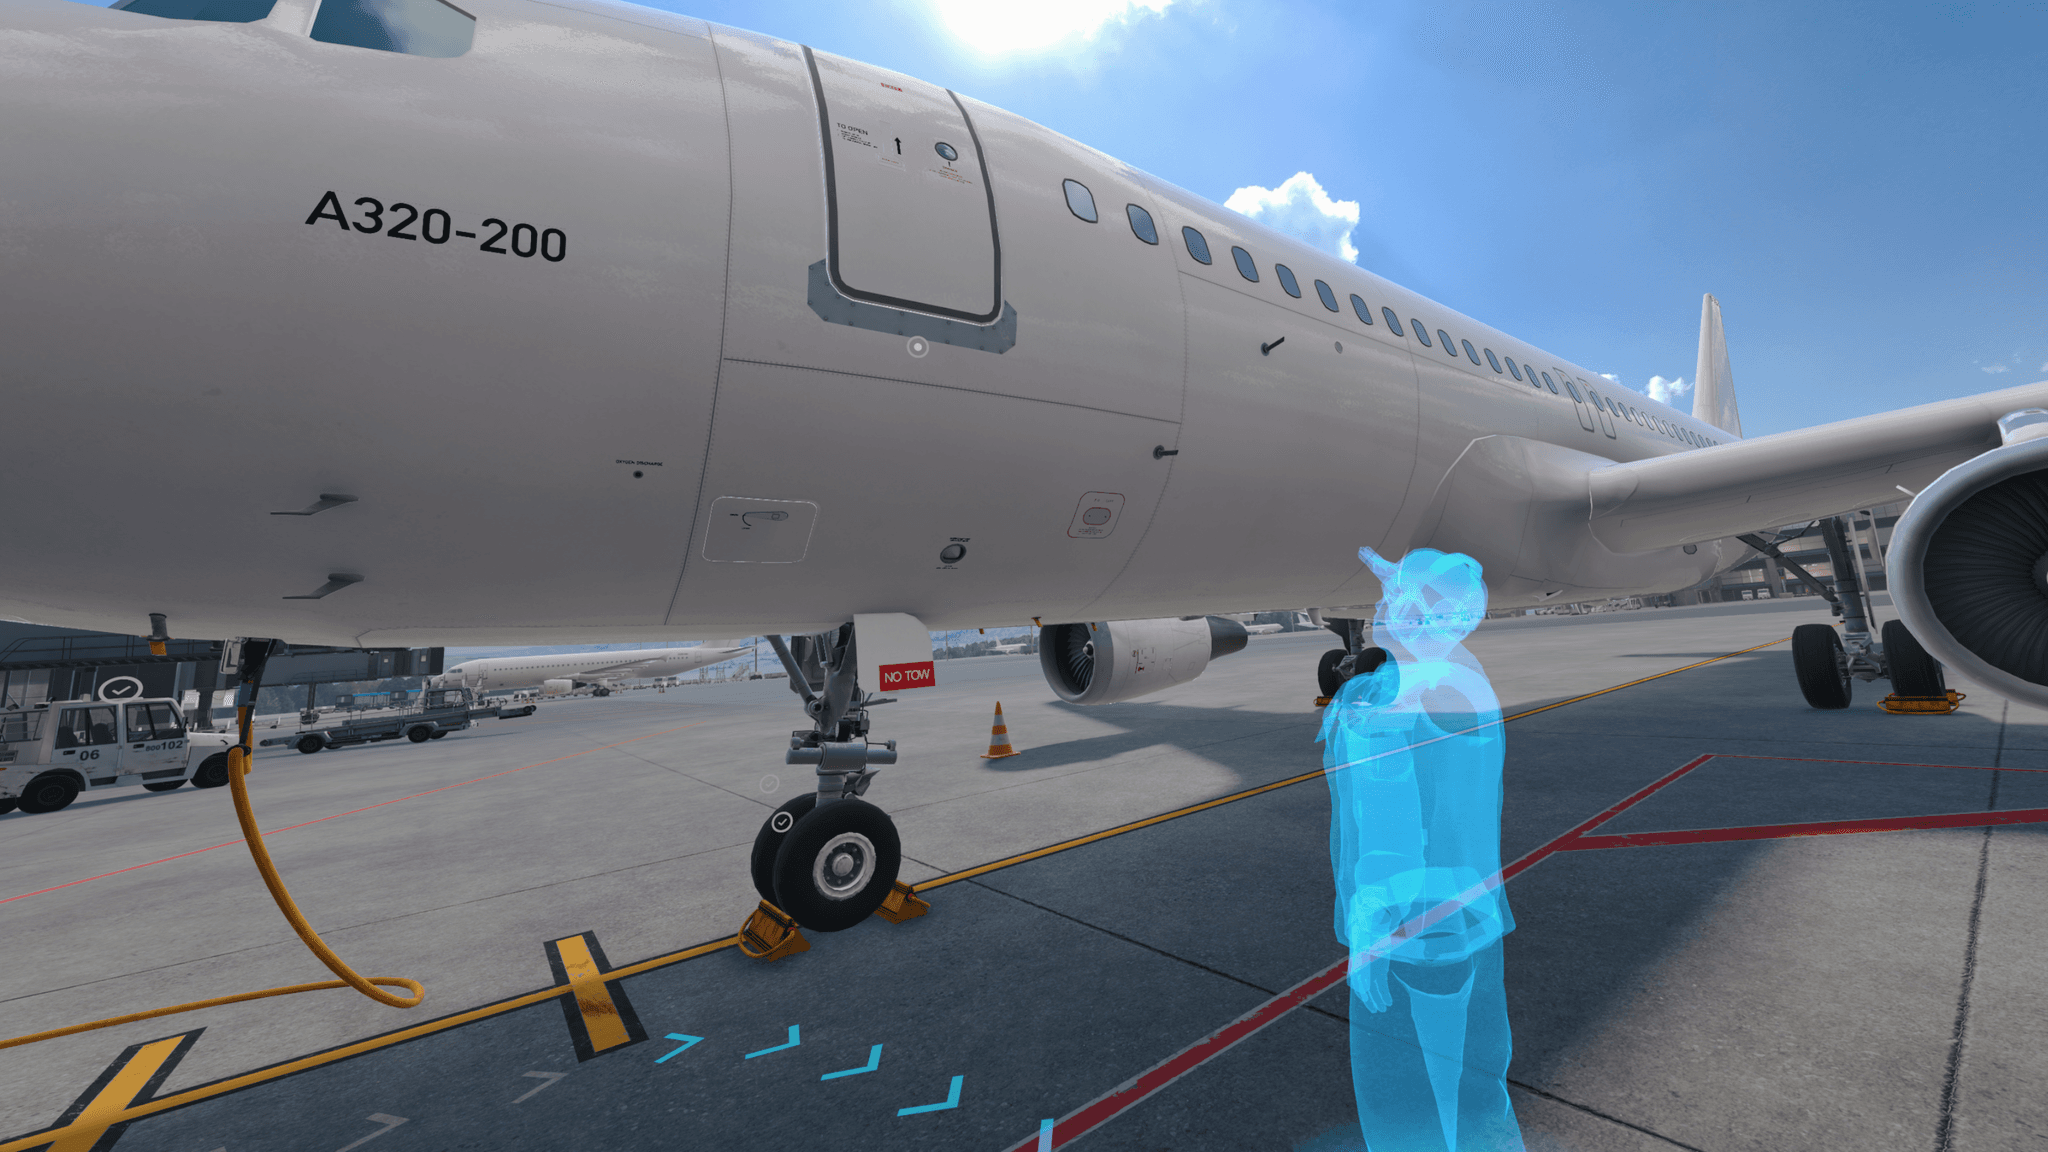
- The trainee starts in front of the nose of an A320 that is ready for departure: boarding complete, cargo loaded, doors closed, chocks in place and all ground equipment except the GPU removed. A highlighted path on the ground marks the counter-clockwise route.
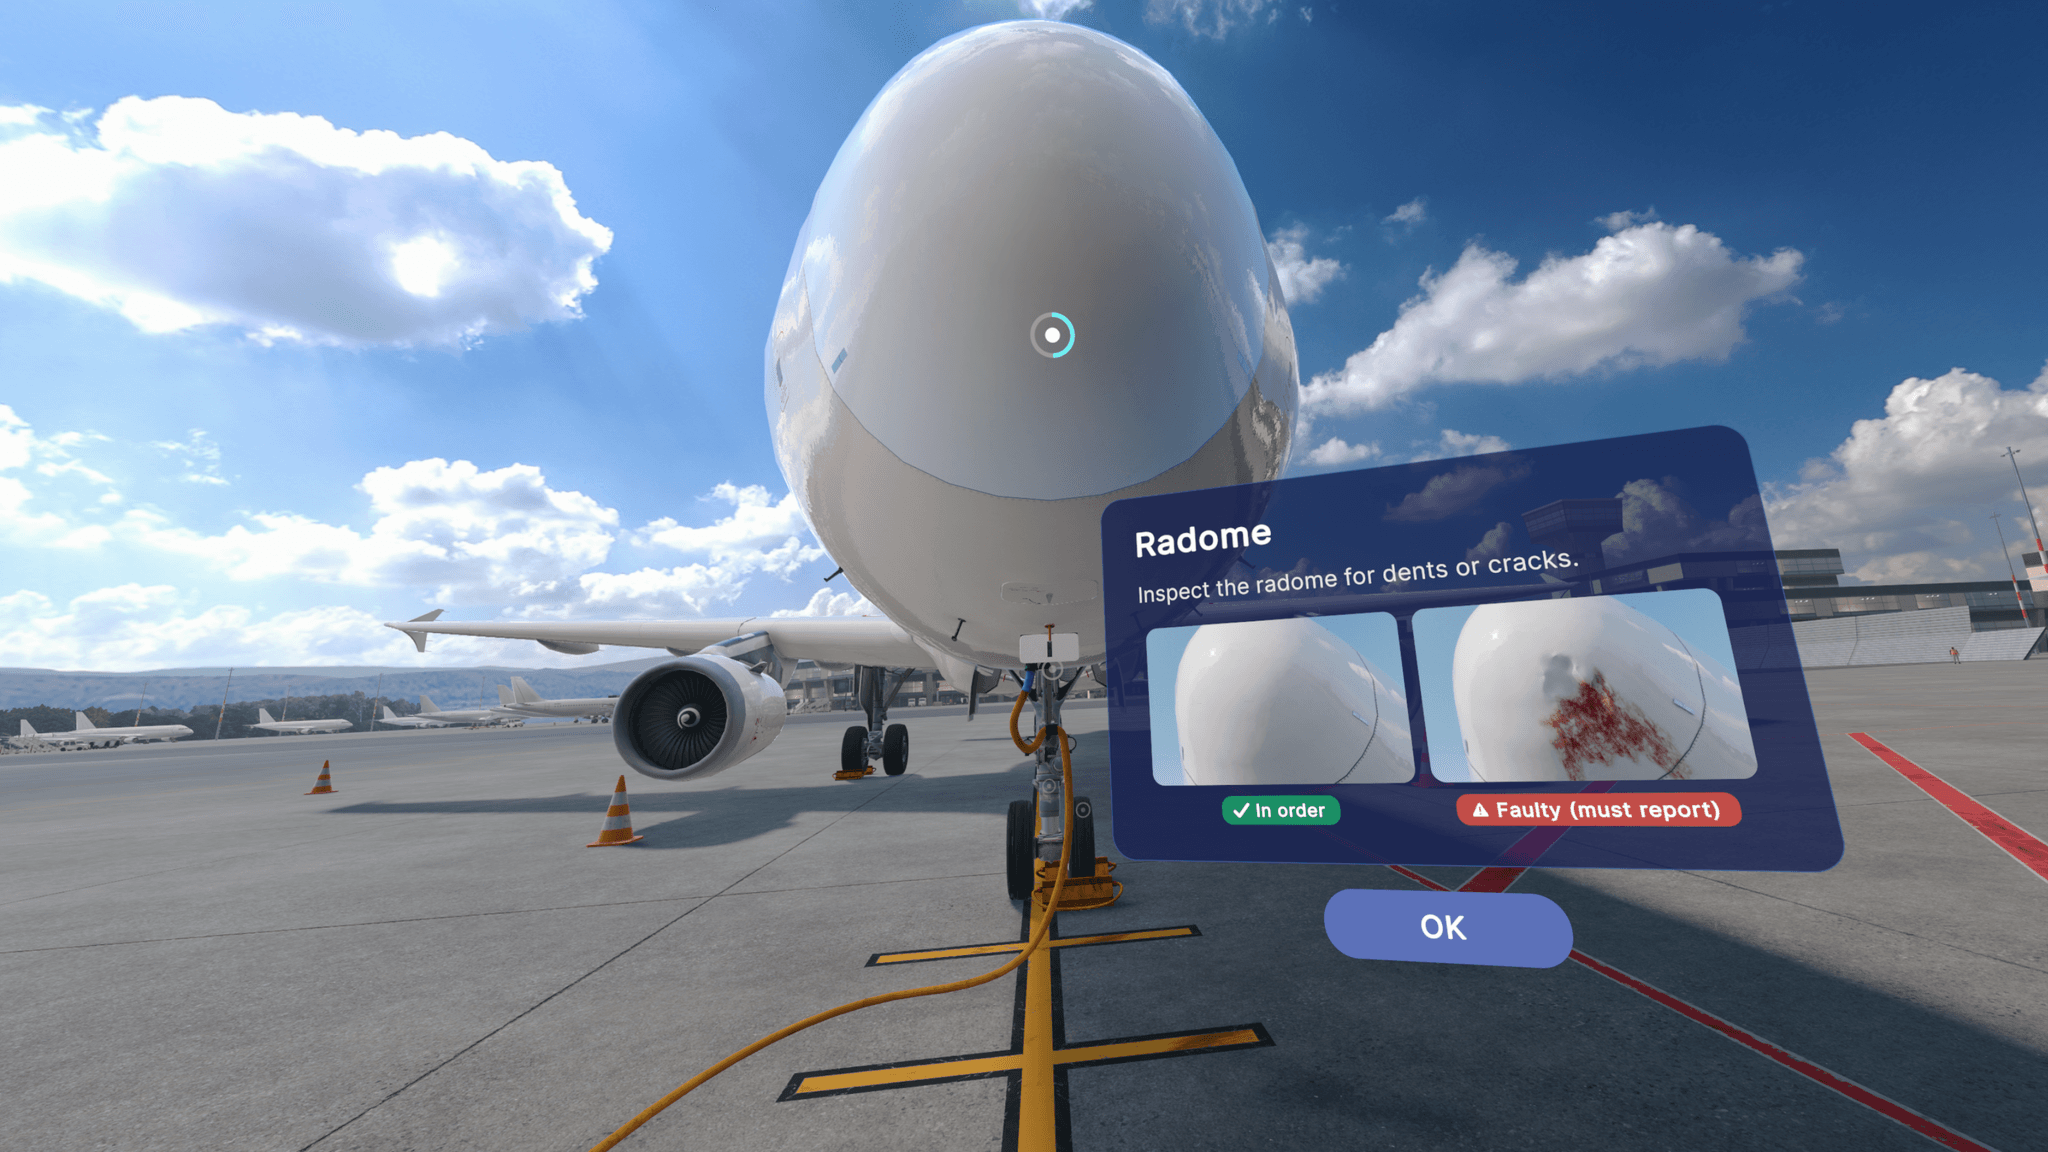
- Nose area: the radome is checked for dents and cracks, and the forward antennas for broken or missing units.
- Nose landing gear: the ground around and under the gear is scanned for tools, equipment and F.O.D. and for oil or hydraulic leaks; the tires are checked for cracks running across the grooves, with even tread wear identified as normal.
- Forward passenger door: handle flush, no gap at the sill, no major dents in the door or the surrounding fuselage.
- Whole-aircraft checks introduced along the left fuselage: access panels closed and flush, the skin checked for fresh dents and cuts as distinct from paint scratches, normal wear and logged old damage, and screws checked for loose, protruding or missing units.
- Air outlet: identified as an opening that is normal either open or closed, so it is not reported.
- Left main gear: the safety pin with its remove-before-flight flag confirmed removed, the tires checked for transverse cracks, and the strut and ground beneath checked for hydraulic fluid drips or stains.
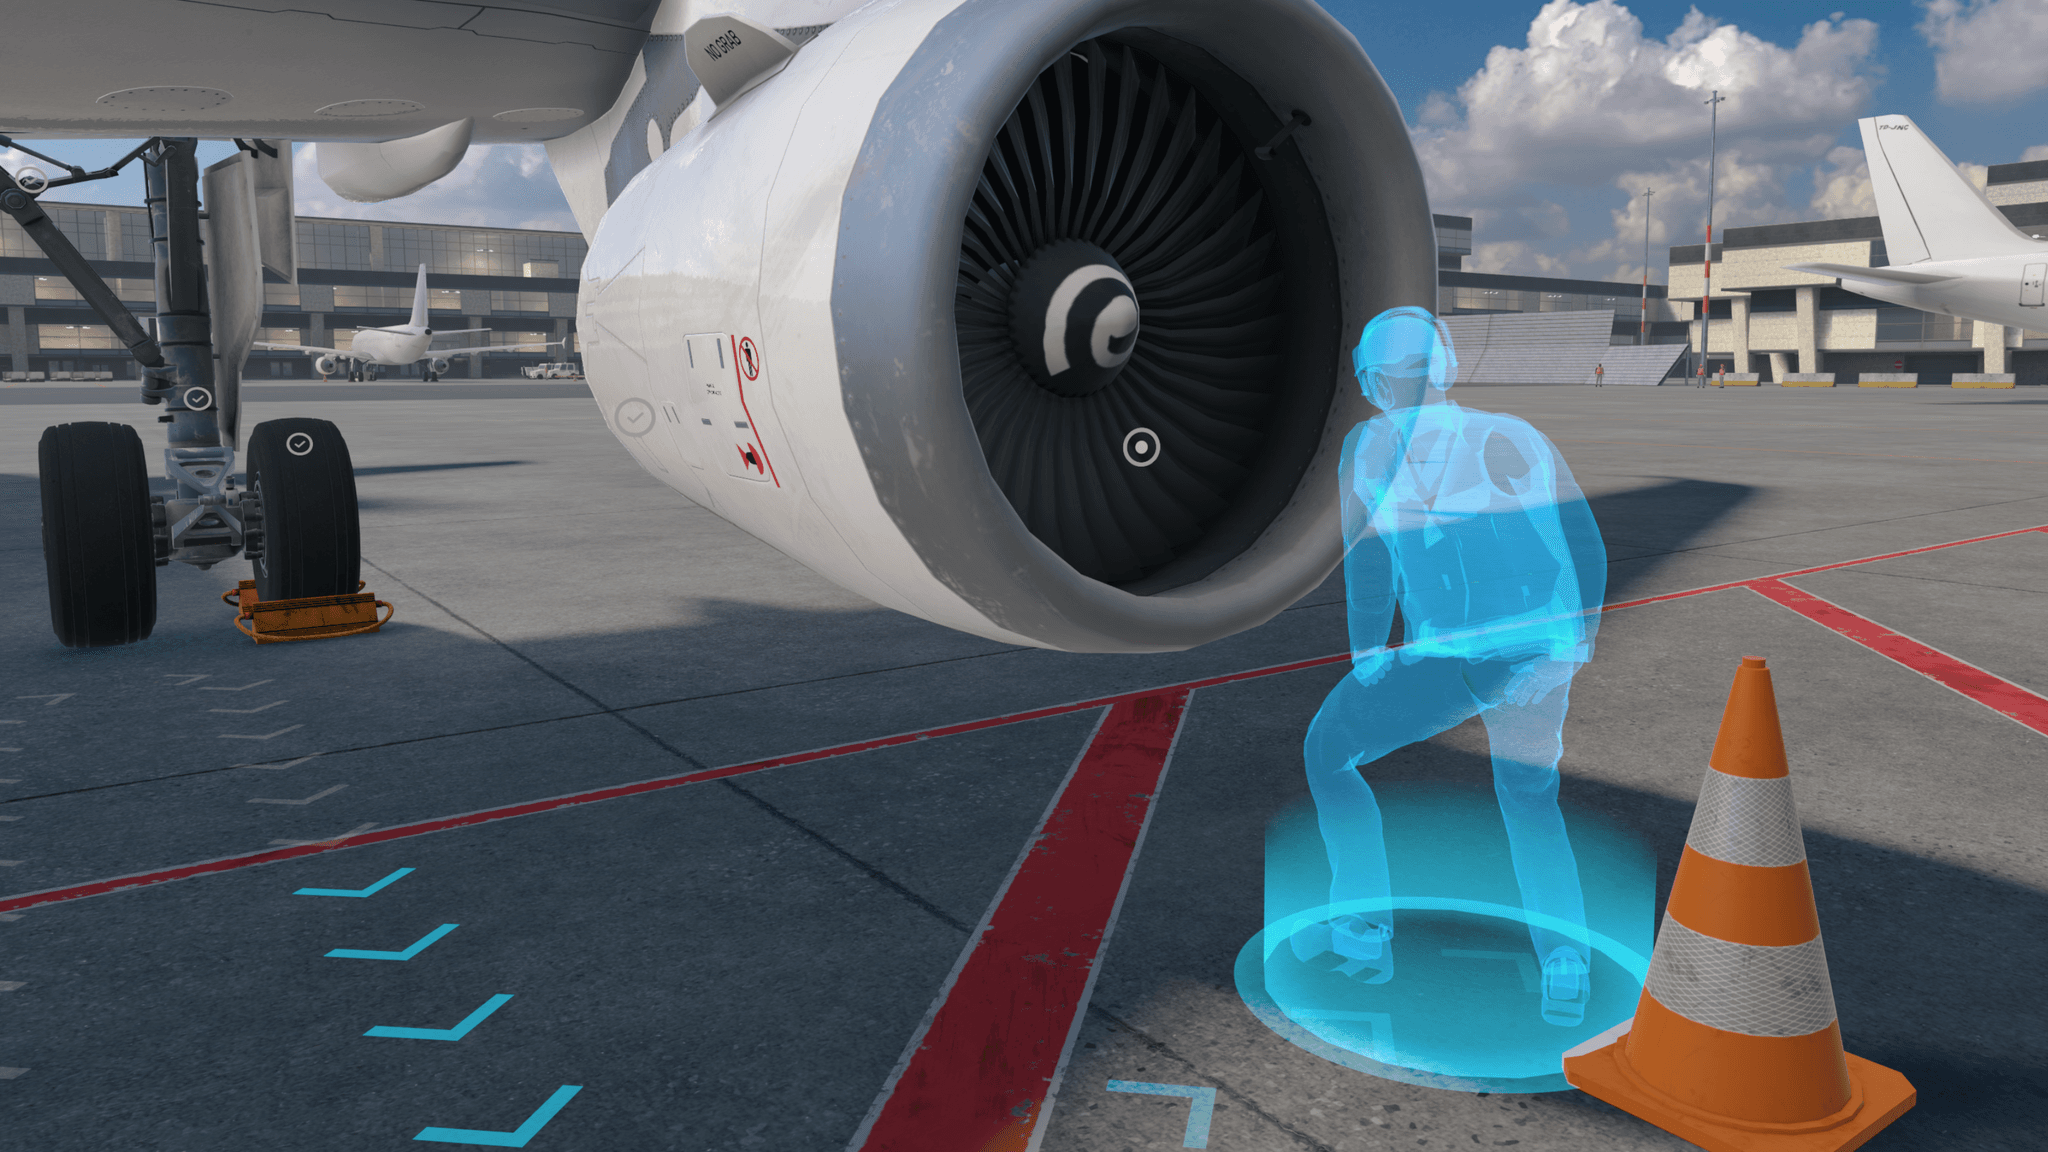
- Left engine: the intake checked for F.O.D. such as a tool or headset and for dents to the rim and fan blades; the oil-fill and side access panels checked closed, to be reported rather than closed by the trainee.
- Left wing: leading edge checked for dents from GSE contact, refuel panel closed, winglet present and undamaged, and the trailing-edge static dischargers all present and unbroken.
- Left rear fuselage: belly-fairing access panels closed and flush, rear-left passenger door closed with the handle flush, and the potable-water service panel closed.
- Tail: fin and stabilizer surfaces checked for dents, the tail cone for damage, and the trailing-edge static dischargers confirmed present.
- Right rear fuselage: rear-right service door and toilet-service panel closed, bulk and rear cargo doors closed with handles pushed fully in, the rear cargo door selector closed, and the belly-fairing access panel closed.
- Right wing: static dischargers, winglet, leading edge and refuel panel given the same checks as the left side.
- Right engine and main gear: side and oil-fill access panels closed, the intake checked for F.O.D. and for blade or rim damage, the tires checked for cracks, the strut and ground for fluid leaks, and the safety pin confirmed removed.
- Right forward fuselage: wing-box fuel panel and front access panels closed, forward cargo door selector closed, forward cargo door closed with the handle pushed in, and the air inlet identified as normal either open or closed.
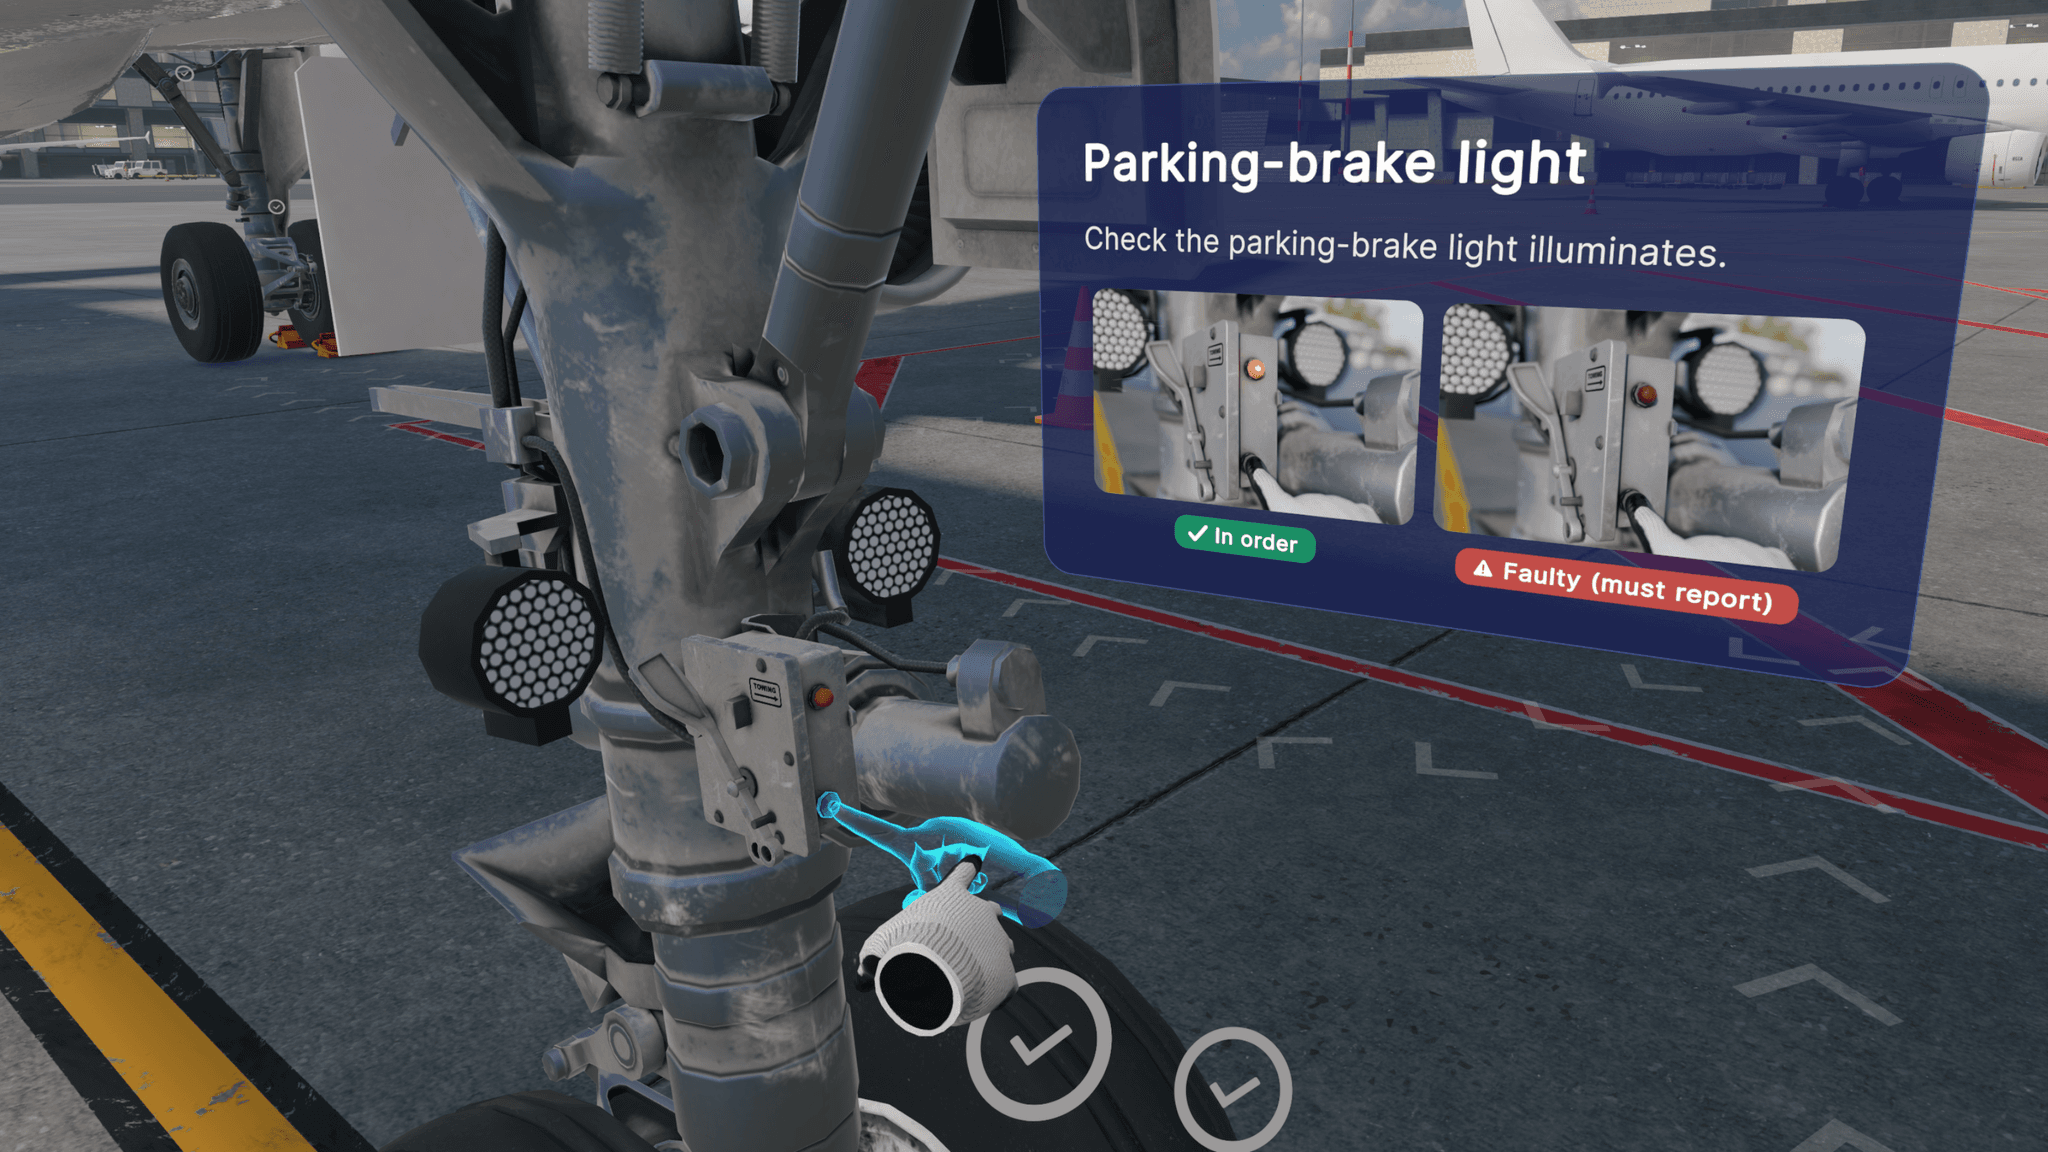
- Parking-brake light: the trainee presses the button on the steering bypass pin housing to confirm the light illuminates when the parking brakes are set.
- The forward-right service door completes the route: handle flush, no gap, no dents.
- Each point explains what to look for and, where it helps, shows an in-order and a faulty example side by side; the trainee then confirms the point as checked and the next one becomes available. The lesson closes on contacting the cockpit with the findings and the rule that a fault is reported, never repaired.
Safety Scenarios & Learnings
Fresh dents or cracks in the airframe
Reinforces that new damage anywhere on the aircraft must be reported, and told apart from a paint scratch, normal wear or a logged old-damage mark.
Reinforces that new damage anywhere on the aircraft must be reported, and told apart from a paint scratch, normal wear or a logged old-damage mark.
Panels, doors or cargo door selectors left open
Reinforces that anything meant to be closed must be caught before the aircraft moves, including the panels underneath the fuselage that are easiest to miss.
Reinforces that anything meant to be closed must be caught before the aircraft moves, including the panels underneath the fuselage that are easiest to miss.
Main gear safety pin still installed
Demonstrates that the gear cannot retract after take-off while the pin is in place.
Demonstrates that the gear cannot retract after take-off while the pin is in place.
F.O.D. on the ground or inside an engine intake
Reinforces that debris by the gear can damage the tires during pushback, and anything left in an intake is drawn into the engine at start-up.
Reinforces that debris by the gear can damage the tires during pushback, and anything left in an intake is drawn into the engine at start-up.
Tire cracks, fluid leaks or missing hardware
Shows that a crack across the grooves, a hydraulic drip or a missing screw or static discharger is as reportable as visible damage, while even tread wear is not.
Shows that a crack across the grooves, a hydraulic drip or a missing screw or static discharger is as reportable as visible damage, while even tread wear is not.
Parking-brake light that does not illuminate when tested
Demonstrates that the light must be tested before it can be judged serviceable.
Demonstrates that the light must be tested before it can be judged serviceable.
Gallery