Basics
Duration
8-15 Minutes
Training Type
Initial Training
IATA Standard
IATA AHM 1110, Edition 46 & IATA IGOM, Edition 14
Languages
English, German, Dutch, Spanish, French, Greek, Arabic
Description
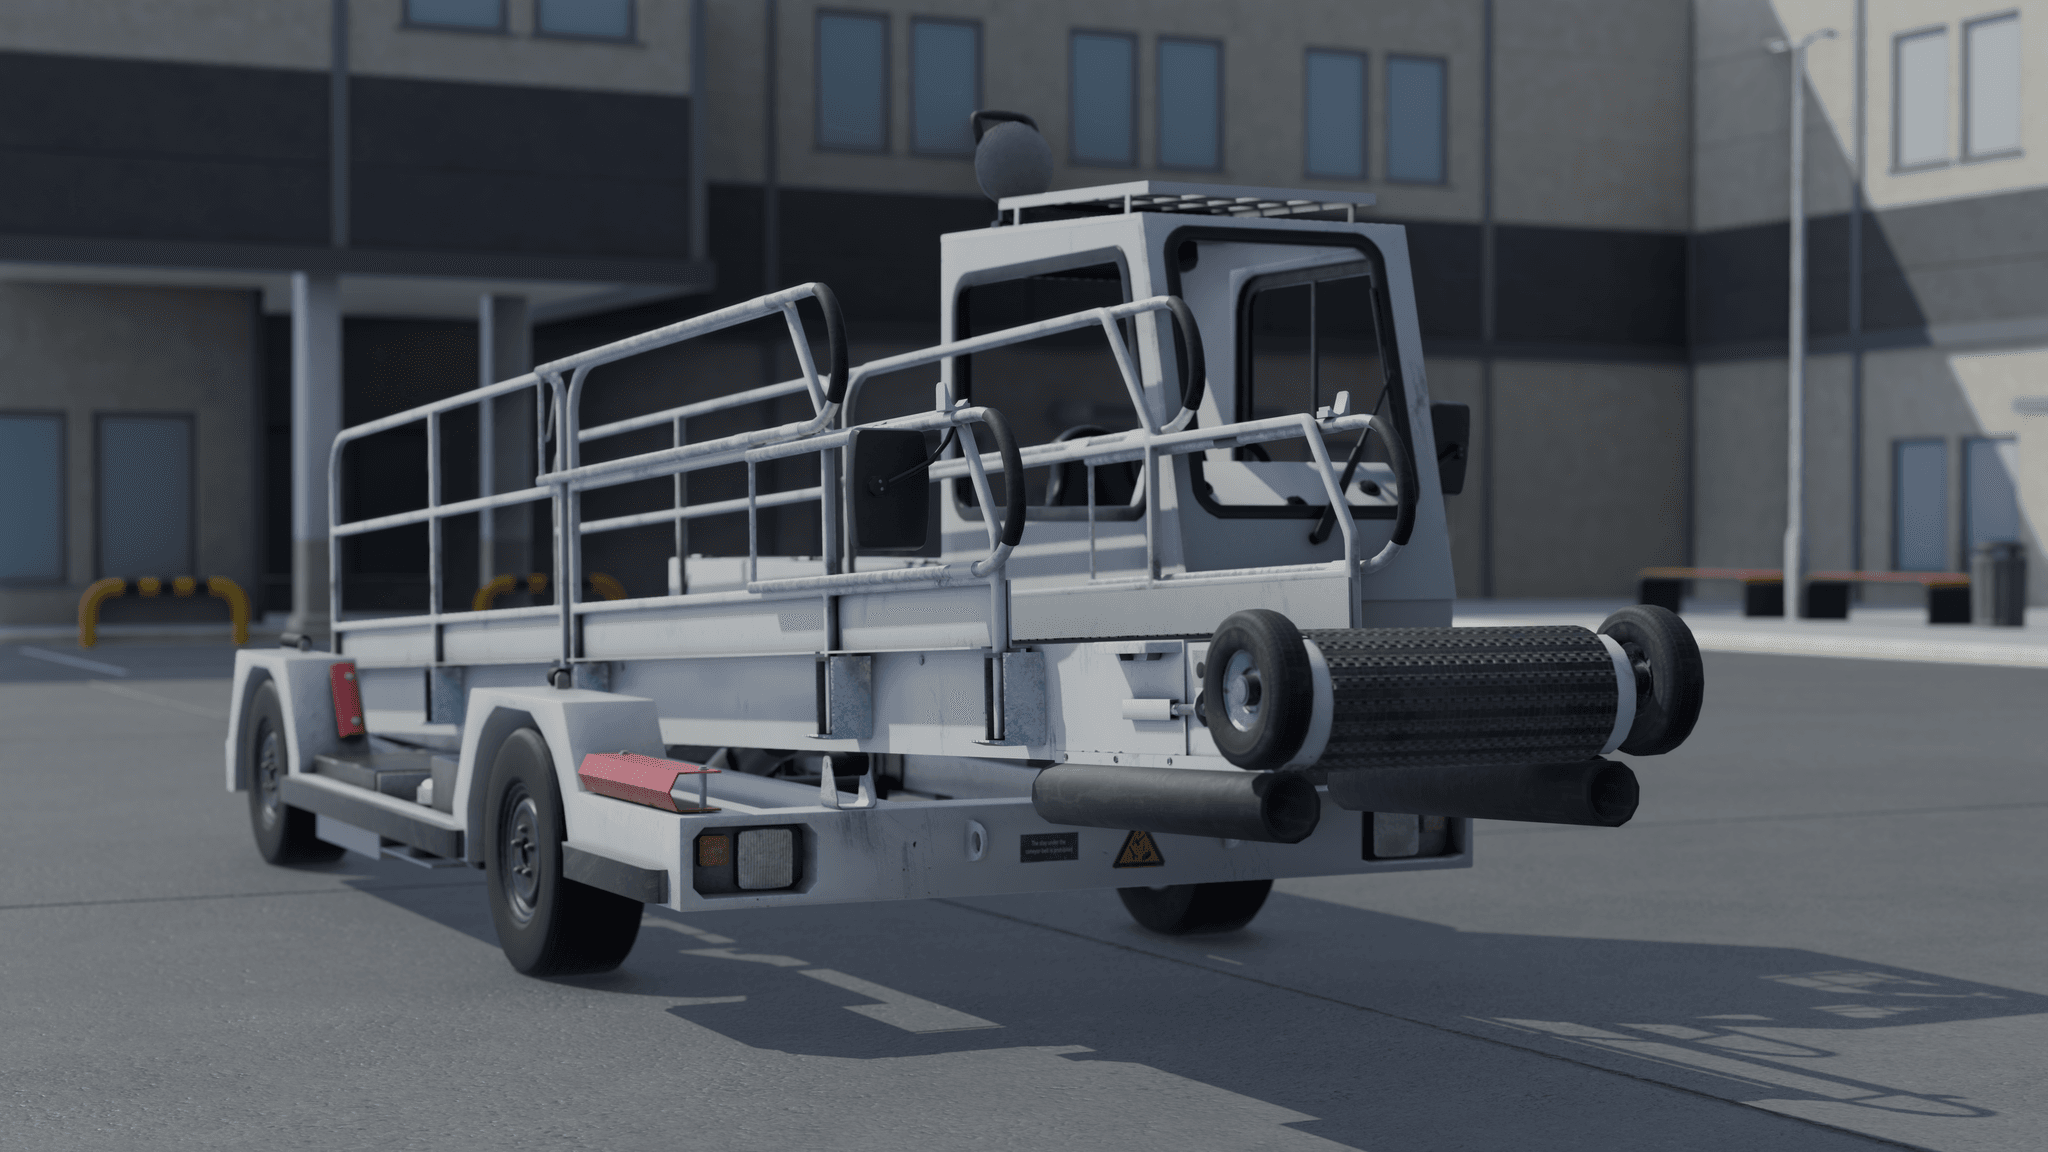
Introduces trainees to the main components and layout of a standard belt loader before driving and active operation. The lesson builds foundational equipment awareness through guided exploration and animated demonstrations of core parts and safety features.
Lesson Overview
- 1Conveyor belt overview and movement demonstration with luggage
- 2Overview of conveyor belt operator control panels and emergency stop buttons
- 3Boom functionality and animations for the front (aircraft) and rear ends
- 4Guardrail purpose and extension/retraction sequence
- 5Operator cabin and control panel introduction
Skills Acquired
- Identify key belt loader components and their purpose
- Understand safe operation zones and movement ranges
- Recognize the function of control panels and emergency systems
- Understand the usage of guardrails for personal and load safety
Lesson Procedure
- The trainee starts in a GSE parking area facing a belt loader. Voice-over guidance introduces the lesson objectives and structure.
- Guided by directional arrows, the trainee visits key points of interest (POIs) around the loader. Each POI triggers voice-over and animations explaining specific belt loader functions:
- Conveyor belt: Demonstration of forward/reverse movement with luggage simulation
- Conveyor belt movement control panels: Overview of button functions, speed dial, and emergency stop
- Animated elevation sequences showing typical alignment of the boom’s front (aircraft) side and rear end.
- Cabin and main panel: Introduction to key interior controls
- Guardrails: Sequential animation of extension and retraction
- The session concludes with a summary confirming understanding of all main belt loader elements and readiness to advance to operational lessons.
Gallery


